Payoneer registration step-by-step in Ukraine

Payoneer is a global payment system that facilitates international financial transactions. The company allows individuals, freelancers, and businesses to send money and receive payments from different countries. Using Payoneer, one can easily manage their money abroad, save on fees, and have easy access to their funds.
For those unfamiliar with Payoneer, we have prepared a detailed guide on how to create an account and set up your details. We invite you to register!
Before starting registration, prepare your international passport and a bank card from a Ukrainian bank, preferably a foreign currency card.
1. On the Payoneer website, select "Get Started".

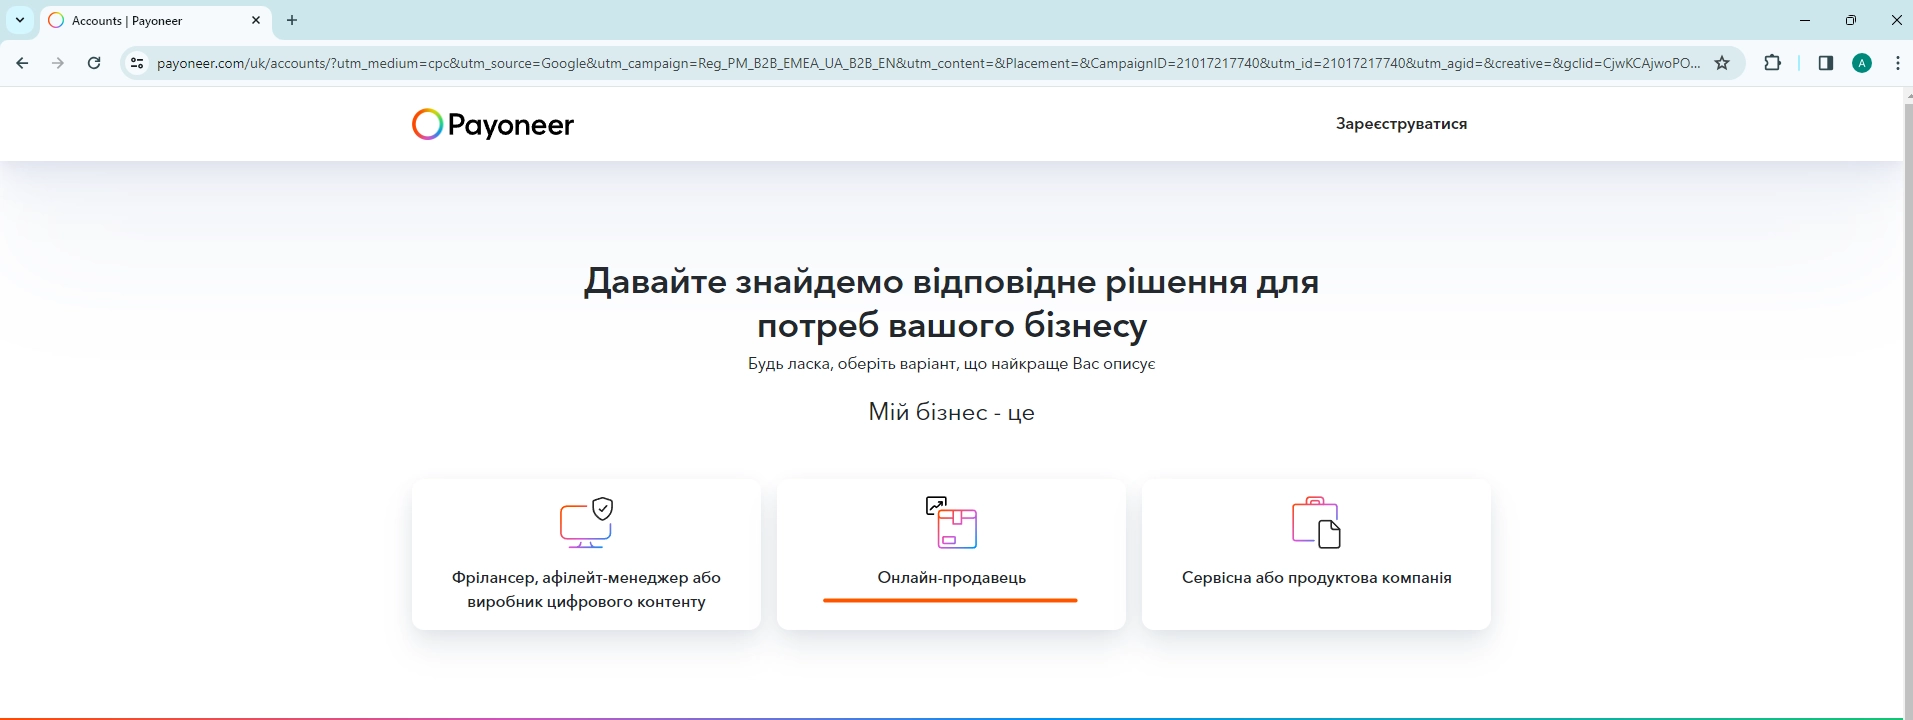
2. Choose your field of activity.
It is necessary to select your field of activity to specify the source of income. For individuals engaged in manufacturing or sales, the optimal choice would be the "Online Seller" category.
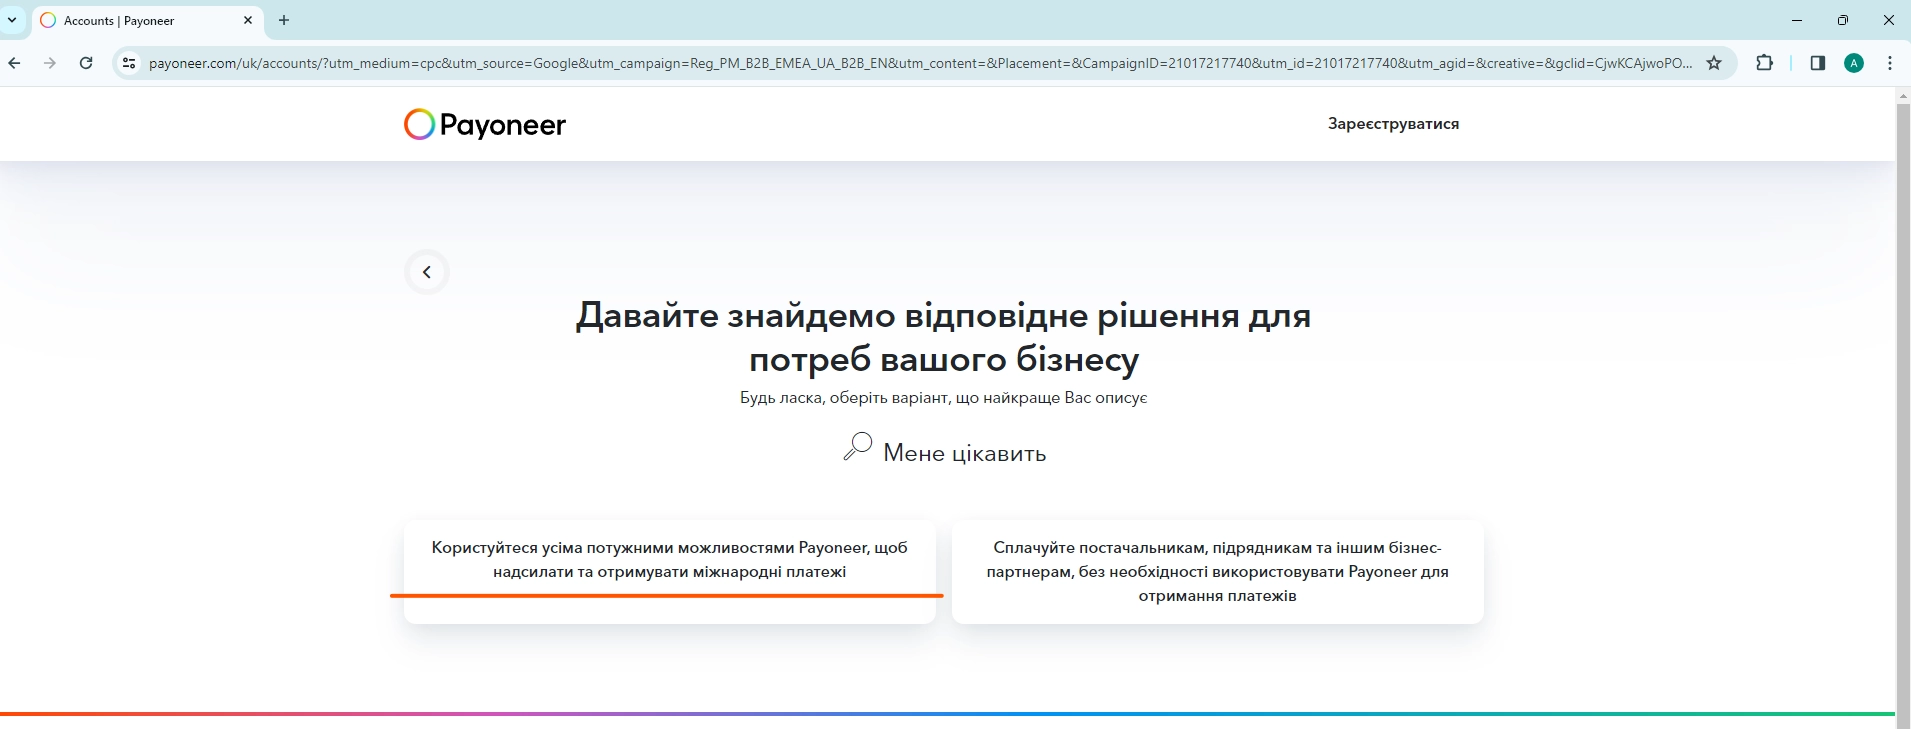
For sellers on marketplaces, we choose the option that states "All Payoneer Features"
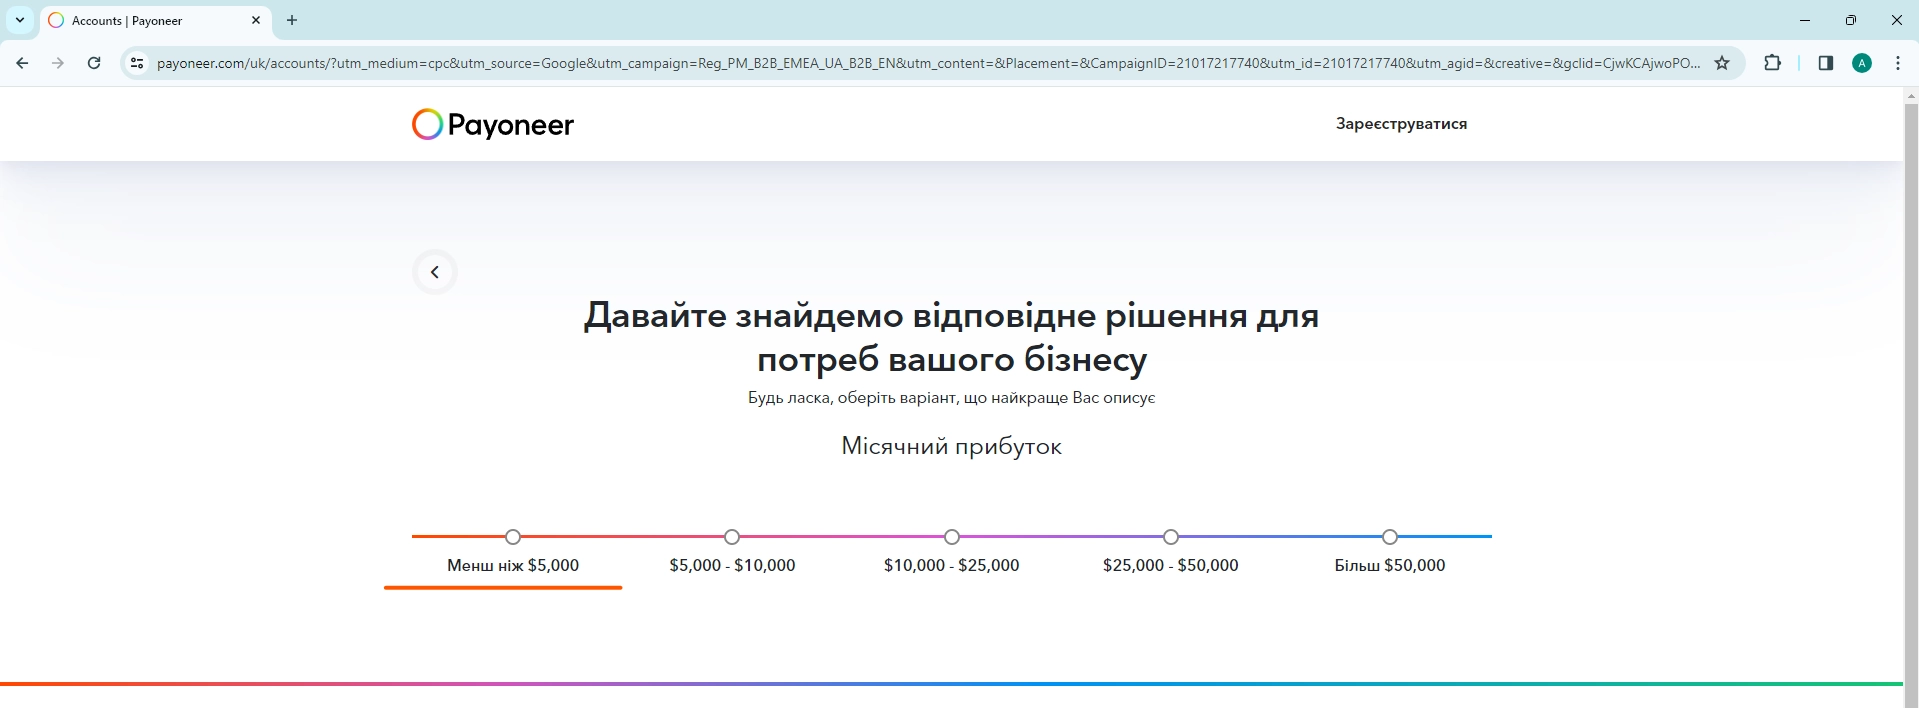
Indicate the expected monthly income. For new stores, it is recommended to choose the minimum value. If you expect a higher profit, select the appropriate amount.
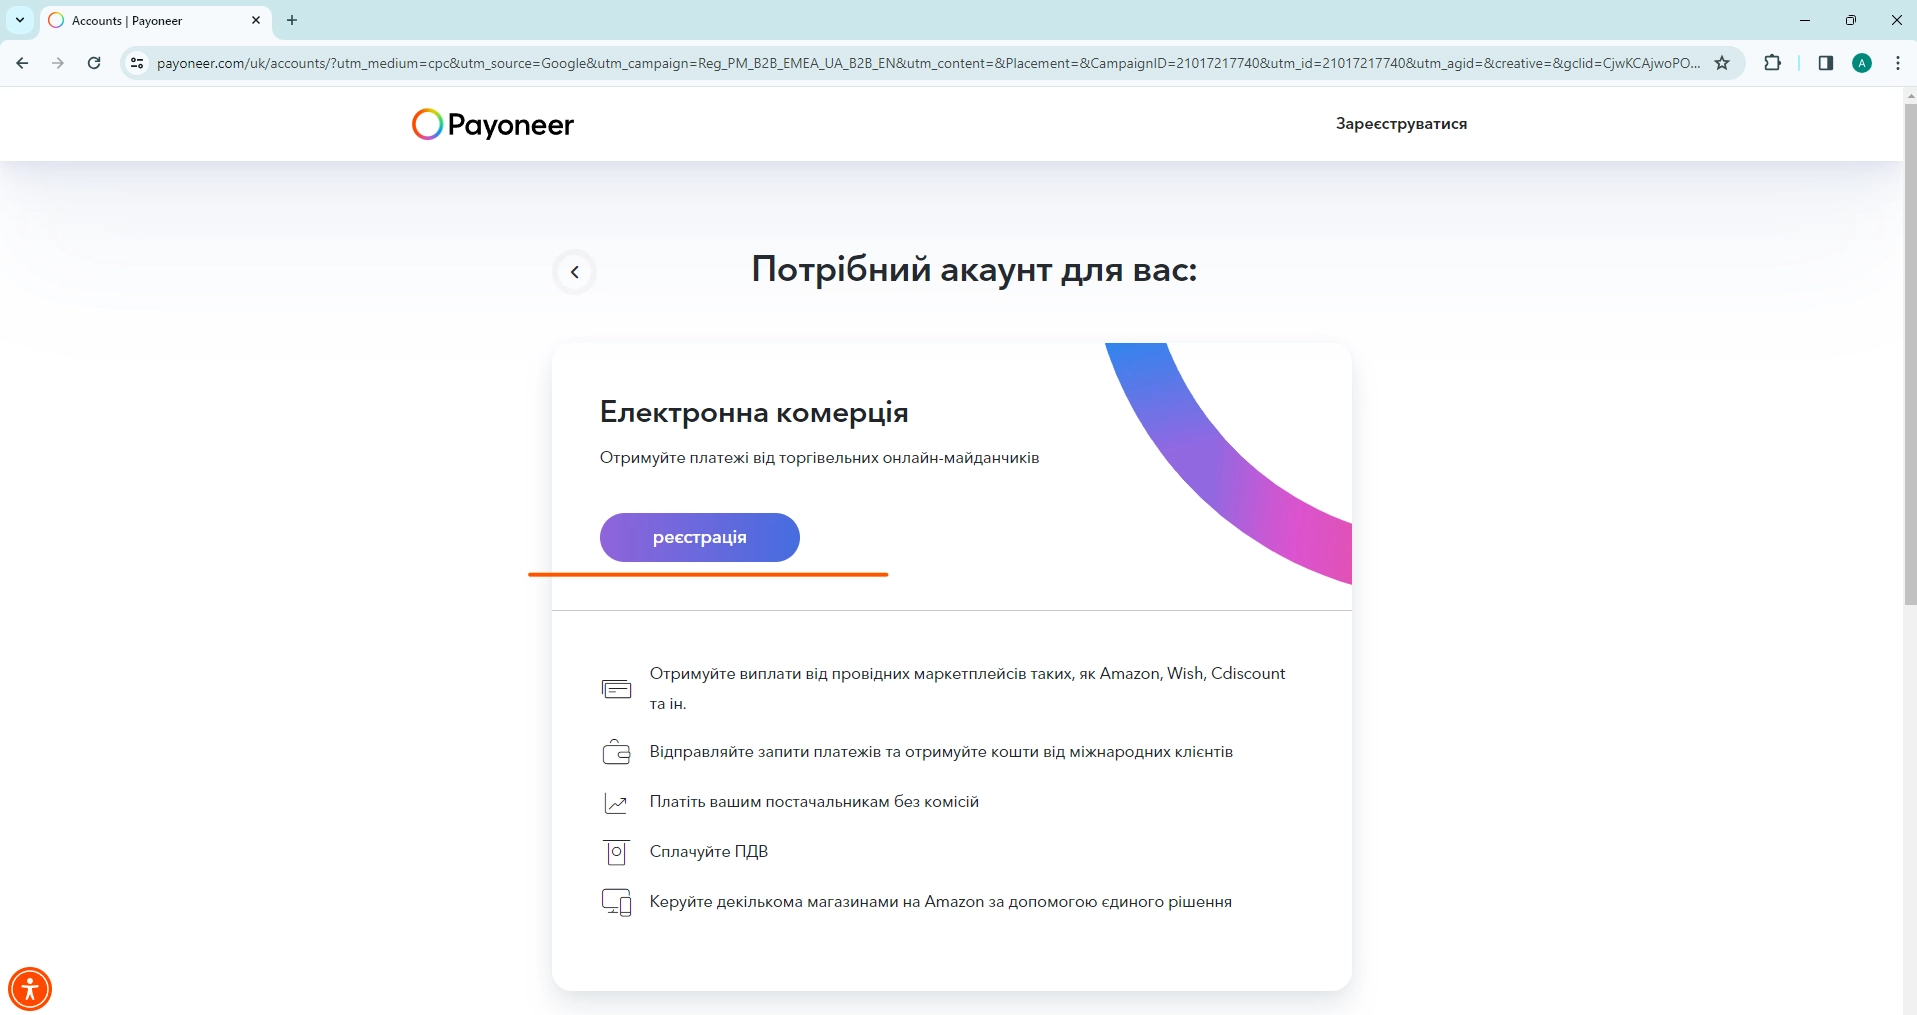
The payment system automatically selects the type of account for us based on our responses. Then, we proceed to the "Registration" section.
3. Registration: Let's get started!
At this stage, you have the choice between a personal account and a business account. If you are registered in Ukraine as a sole proprietor (ФОП), Payoneer still offers you the option of a personal account. This is because, according to Ukrainian law, you are not allowed to transfer money from an international payment system to a sole proprietor's account; you can only transfer to a personal account of an individual.
All data must be entered in Latin letters exactly as they appear in your documents, such as your international passport.
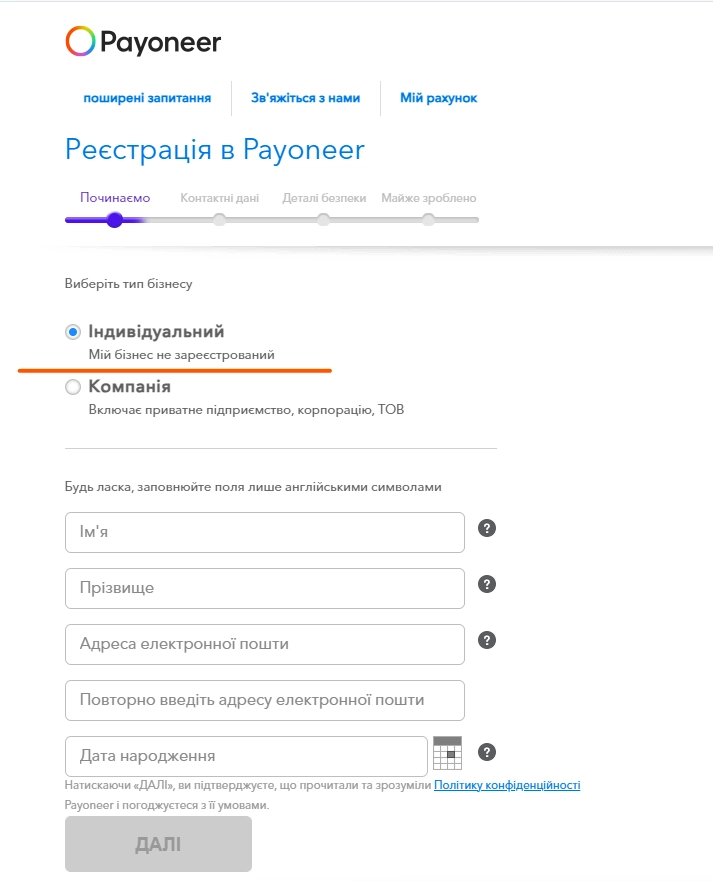
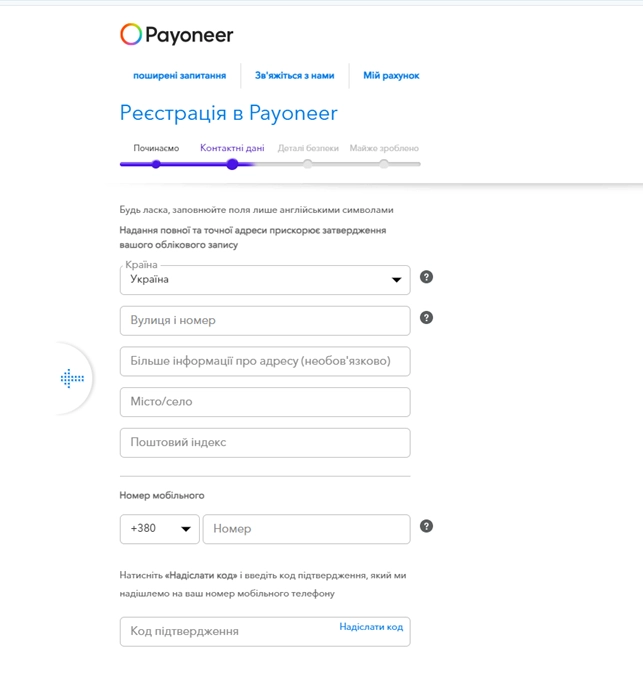
4. Registration: Verification of contact details.
At this stage of the Payoneer registration, you will undergo verification of your phone number. You will receive an SMS message or a phone call for confirmation.
Additionally, Payoneer will later require confirmation of your residential address. For this, you may need to provide utility bills or payment receipts.
It is important to note that Payoneer does not allow registration for individuals residing in temporarily occupied territories, such as the Autonomous Republic of Crimea, Donetsk, and Luhansk regions. If your official registration is in one of these regions, it is crucial to provide a current living address during registration.
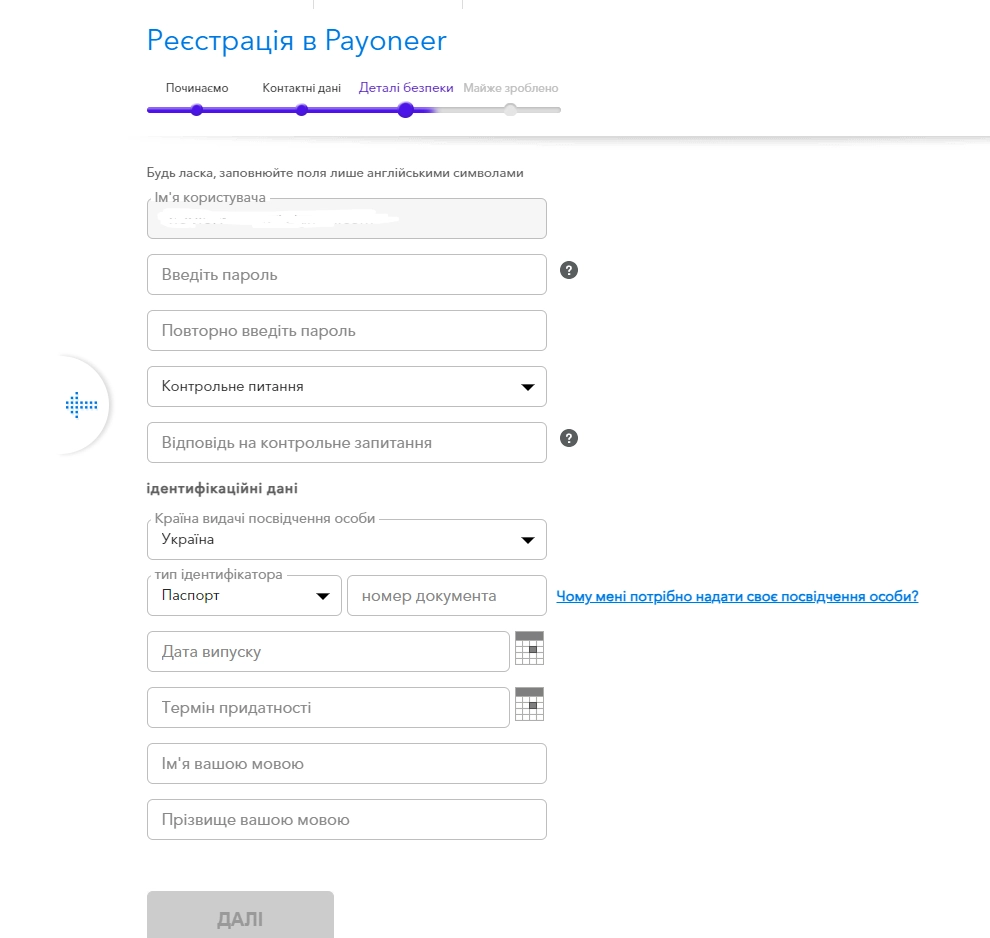
5. Registration: Security Details
Fill in all the fields according to your information.
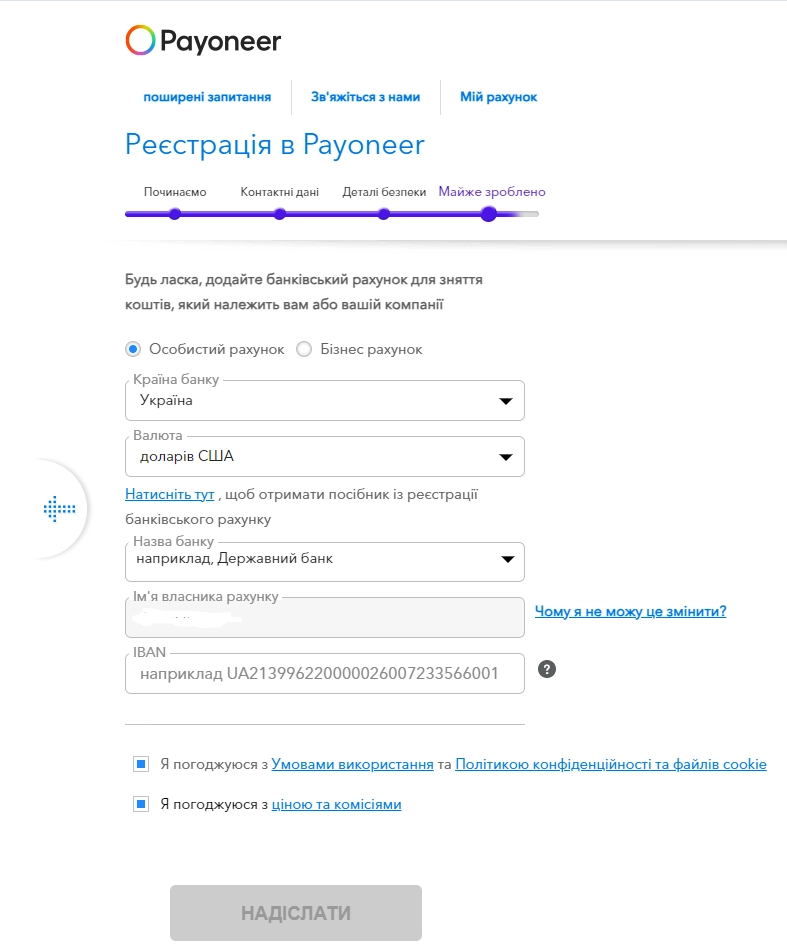
6. Registration: Almost done!
Enter all the data, and select dollars as the currency (since we are registering for a foreign currency card).
Agree to the terms, pricing, and fees
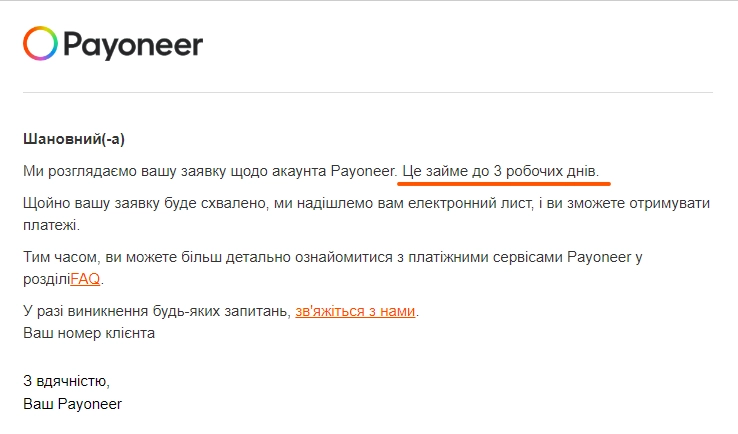
After completing the registration, your account undergoes a verification process, which usually takes no more than three business days. You will be notified of the verification results via an email.
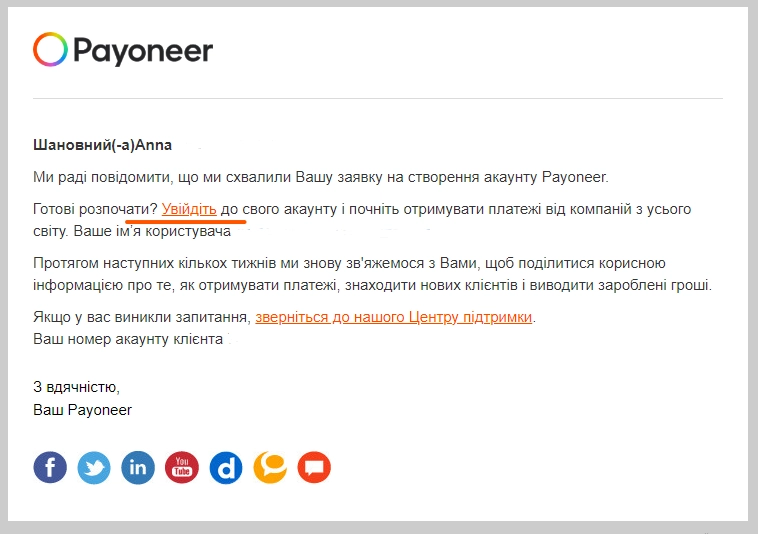
The next letter from Payoneer will inform you that you now have your account—congratulations, you did everything correctly!
Follow the "Log In" link from the email to access your account.
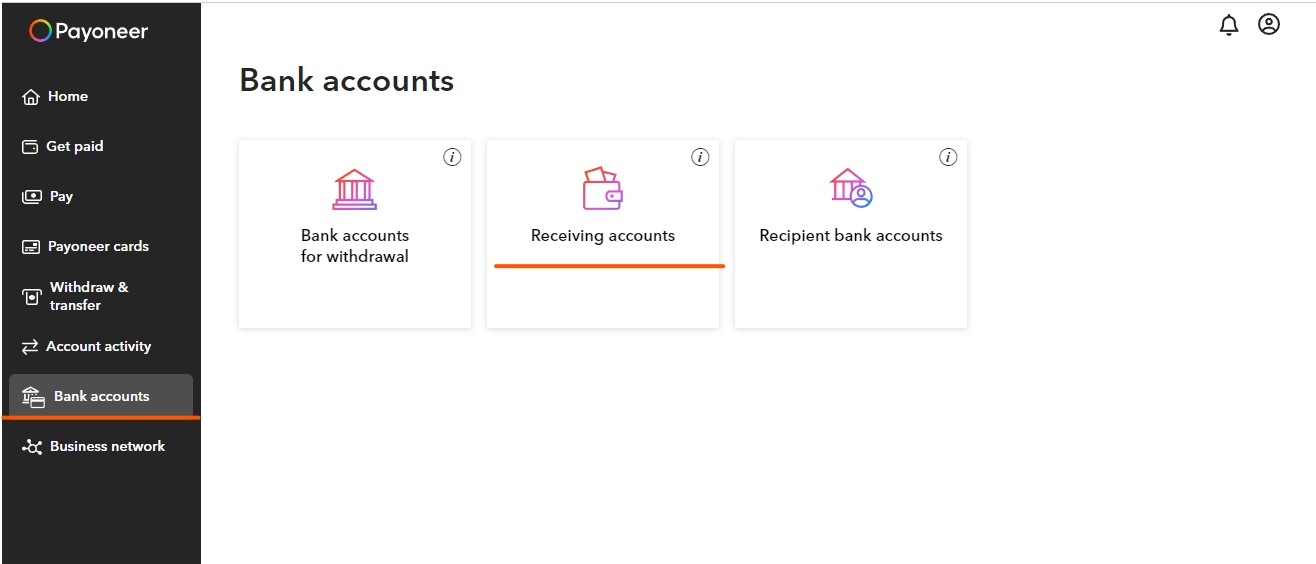
Setting up payment details in your Payoneer account
Select "Bank Accounts" and "Receiving Accounts."
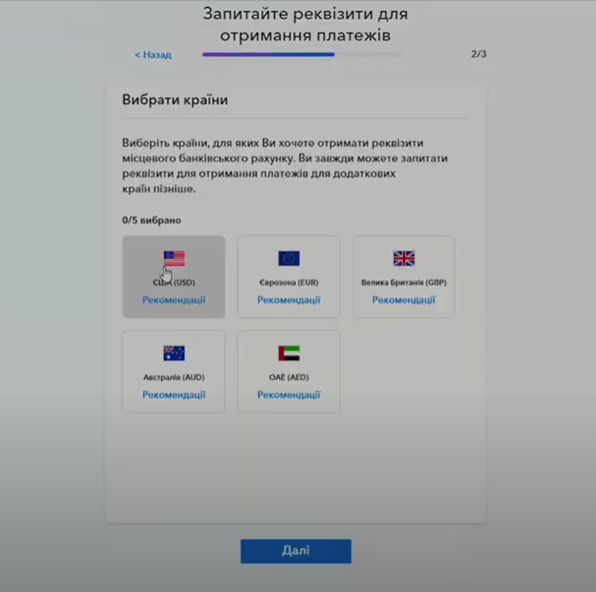
Choose the currencies in which you will accept funds.
After this, you may be asked to provide identification details and a statement from the details of your Ukrainian bank card.
Creating these details can take up to 3 working days. After this, you can confidently proceed with registering on Etsy.
We hope this article was helpful and will be of use to you.
SkladUSA! You sell. We'll do the rest!
These articles may also
be helpful to you






Thanks for sharing your opinion. Please help us improve this material.
Your opinion is very important to us.